Posts

Tiny star

Image
Making this little critter is the perfect task when you have a half hour to kill and need to keep your hands busy.  It works as a toy for both pets and kids, a decoration, or anything else you can make it...  In my case, my lovely little cat claimed it.  The pattern is as follows:  ring of 4 slip 10 stitches into ring  2 double stitches into every previous stitch, thereby doubling your number of stitches 3 regular slip stitches, on the 4th: make a slip stitch, make a chain of 3, return into the same stitch with another slip stitch. Repeat 5 times. notice that you now have the 5 points of your star 3 regular slip stitches, and 2 double stitches for every previous stitch. Repeat 5 times.  notice that you will be doing double stitches over the points of the star, and 3 slip stitches between those.  Repeat step 1-5, to create the 2nd section of the star.  Attach the two sides of the star with 1 to 1 slip stitches. (Both have the same number of stitche...

C2C kitchen towel (inspiration)

Image
Made with classic C2C, using scrap yarn. The outline is two laps of slip stitches. For 3 of the corners, I made 3 stitches in the air on the first lap, and 2 slip stitches, 1 air stitch, 2 slip stitches into the consequent loop on the second lap. To make the big loop for the hook, I made a long chain of air stitches on the first lap, and outlines those tightly with double stitches on the 2nd lap. 

OCTOPUS (absolutely adorable)

Image
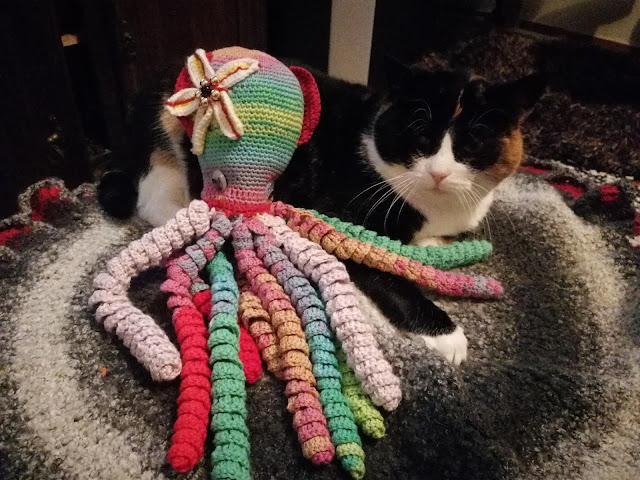
BODY:  ring of 3  7 slip stitches into ring  increase 1 for every 2nd slip stitch (continue using slip stitches until told otherwise)  increase 1 stitch for every 2nd increase 1 stitch for every 3rd  increase 1 stitch for every 5th  make a lap with no increase (keep the same number of stitches)  a lap with no increase  a lap with no increase  increase 1 stitch for every 10th   increase 1 stitch for every 5th   increase 1 stitch for every 7th  increase 1 stitch for every 10th  7 consecutive laps with no increase, keep the same number of stitches  decrease 1 stitch for every 10th (skip every 10th stitch...)  4 consecutive laps with no decrease, keep the same number of stitches  decrease 1 stitch for every 10th  lap with no change in number of stitches  decrease 1 stitch for every 10th  5 consecutive laps, same number of stitches  decrease 1 stitch for every 10th  3 consecutiv...

Ruffly daisy pillow

Image
PART 1 - RUFFLY PETALS Start with a ring of 5 stitches. Throw 10 regular stitches over the ring.  A lap of double stitches, increase with one for every 2nd stitch.  One regular stitch between  each double stitch, and one in the air above it. (As shown to the right.)                                         One half double for every pre-existing stitch.                                                              Place a lap of shells onto the top lap (in the picture to the right, what I refer to as the bottom lap is marked with green and the top lap with red). Shells will consist of 7 double stitches, skipping 2 stitches underneath each side.  Double crochet stitches over the bottom lap, increase with 1 for ...

CUTE BASKET

Image
Start with a ring of 4 stitches.  Round 1: 8 stitches. (Throw the yarn over the stitches in the ring, and pull it through like a regular stitch. Round 2:  two stitches go into each of the previous stitches, thereby doubling your number of stitches. Round 3: first one stitch, then two stitches into the same previous stitch. Basically, you do two stitches for every 2nd stitch of the previous round. Round 4:  one stitch, one stitch, two stitches into the same previous stitch. So, two regular stitches and then two stitches into every 3rd previous stitch. Continue doing two stitches for every 3rd stitch until you reach round 7.  Please note that if you want to make a significantly larger basket, you can keep going with more rounds before moving onto the next step. In this case, after you've completed round 6, you must place the 'two into one' stitches farther apart. otherwise, the bottom will wrinkle. I recommend the alternative: round 7- every 4th, round 8- every 5th, ro...

SIMPLE ROSE

Image
This pattern is one for a simple rose, which you can either have on it's own or to decorate another project. The beauty of it is that you can be sloppy, make mistakes and modify the pattern without making the rose look bad. Below are the simple guidelines for the pattern... This is what one petal of your rose is supposed to look like. You will start with a 'base' of a simple chain of stitches. For the rose in the picture i made 48 stitches in the chain, which resulted in a total of 8 petals. You do the math- 7 links in the chain will leave you with one petal.  After you've made the links, you will do a row of simple shell stitch. (Shell: 5 separate double stitches that attach to one stitch of the base.)  As you turn around, you will keep following the shell but in it's middle stitch, you will place three double stitches instead of just one, this will give the petals the right shape.  For the third row, you will follow the same concept but I personally recommend foll...

SOLID HEART

Image
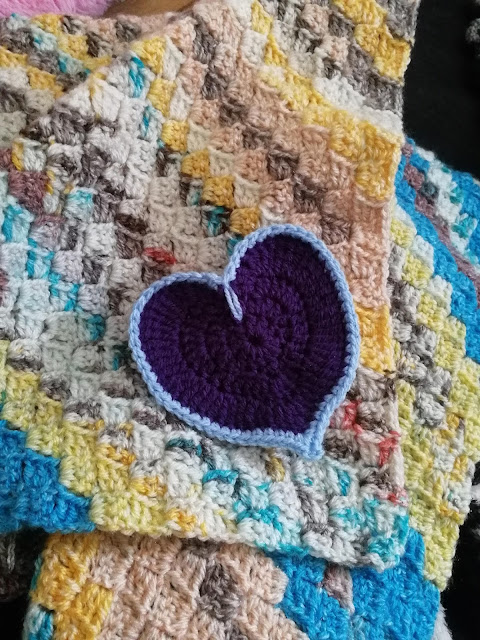
A simple crochet heart can both be used on its own or as an embellishment for a larger project. Below, I will explain my way of making a solid crochet heart. (The pattern was also created by me.) The key to making a heart successfully is to increase the height of the stitches as you increase the umber of laps. Also, it is important to expand the heart and add stitches in places where that it beneficial. In this pattern, you see that stitches are only added in places that are meant to be rounder and also, taller stitches are used in places that should be pointier. This variation in stitch number and height at certain points in the lap is what separates making a heart from making a simple circle.  Also please note that to look its finest, you need to give the heart a little pull and tug once you're finished, to make sure that every stitch finds it's place.  Good luck and feel free to comment any questions or concerns.